

5 Beginner Tricks to Learning Photoshop
Photoshop can be an intimidating program to try and learn, but there are a few building blocks one can keep in mind when trying to tackle drawing or editing photos on Photoshop.
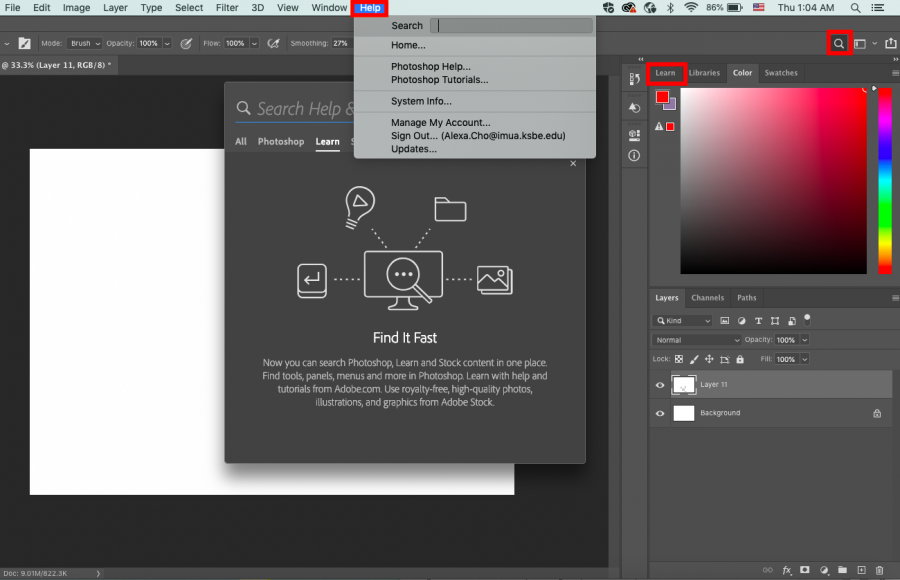
- Use the Help Function
This may sound obvious, but the help option, especially in Photoshop, is particularly helpful to anyone confused or curious about how to do things. They have certain lessons to help people through things like using different tools or even doing certain actions like picking a color. One of the easiest ways to learn about the various tools in Photoshop is to hover over it in the toolbar for a few seconds and click “Learn how” as Photoshop will give a short, step by step practical lesson on using the tool. Keep in mind though that not all tools have that option in which case looking it up on the help feature or on the internet is helpful. If trying to look through the numerous help files feels overwhelming or that there isn’t a place to start, clicking on the Learn tab in the top right of the Photoshop window provides a few lessons useful for starting out.
- Remember Keyboard Shortcuts
Something that can be very tedious in Photoshop is the process of clicking on each tool to change it or having to open the brush option to change the size of the brush. This is where keyboard shortcuts come in.
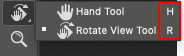
By pressing a letter on the keyboard, one can quickly switch between tools while working and perform certain actions. While learning keyboard shortcuts do not teach any fundamentally new skills, they contribute a lot to becoming more confident and natural at using this program. It’s definitely not necessary to remember them all, but knowing ones like B = brush, I = eyedropper (for selecting colors from existing paintings/photos), G = paint bucket, and bracket keys adjust the brush size can save a lot of time when working. One thing to remember though is that certain tools share one shortcut and whatever tool is in the toolbar is going to be the one selected, if that’s the case (changing the tool in the toolbar means double-clicking the tool and selecting the wanted tool.)
- Adjust Smoothing

Smoothing is a setting to adjust in Photoshop when the brush is selected. When raised, it slows down the speed that the brush line follows the cursor and, as a result, makes the lines drawn smoother. One problem with drawing in Photoshop, especially when using a trackpad or mouse, is that it is very difficult to draw neat, curved lines (pressing down with the brush, holding shift, and dragging will result in creating a straight horizontal/vertical line, one can also make a straight line directly through two points by pressing down with the brush, lifting it, then pressing down on another point with shift held.) How high the smoothing setting should be is very much up to the user and what kind of drawings they want to do. However, just keeping the option in mind and adjusting it whenever struggling with curved lines opens up a lot of opportunities and saves some frustration.
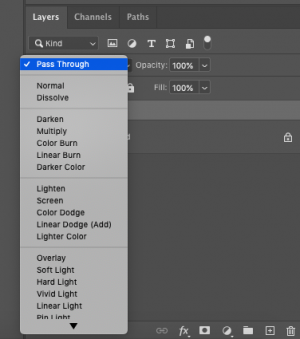
- Use Blending Modes
Blending modes are a very useful option both when trying to create a drawing or when adjusting a photo. The way blending modes work is that they change the layer they’re adjusting to somehow blend or adjust the layer behind it.
An example of a way a blending layer can be used is if someone wants to make a drawing look blue, they can put a layer of just a blue rectangle on top of the drawing and change the blending layer. There isn’t a need to memorize what each blending mode does specifically as placing the cursor over the layer previews what selecting that layer will do. There are many different types of blending layers: those that simply lightly overlays a color onto the below layers, subtracts the black or darker tones from the layer, highlights the affected area, etc. One of the best ways to use blending modes is to just experiment to see what looks best and to look up the few that don’t seem to do anything.
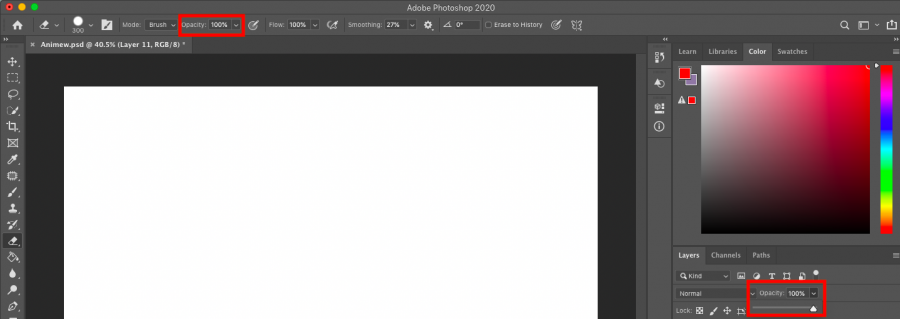
- Adjust the Opacity
The opacity, or how transparent something is, is an adjustment that can be made to various things: brushes, erasers, layers, shapes, text, etc. In summary, the larger percentage the opacity is, the more opaque the object is, and the lower the opacity, the more transparent it is. It’s a very valuable tool as it is one of the main ways one can layer colors on top of each other in Photoshop. Changing the opacity of something can create numerous different effects and generally opens a lot of options in drawing of changing photos. The two major things that often benefit from a change in opacity are brushes and erasers since they involve the most layering when the opacity is turned down. Whether it be for drawing a glow, adding a new hue to the drawing, or going for a softer/more smudged look to a drawing, adjusting the opacity is an important option in Photoshop.

EMAIL:[email protected]
My name is Alexa and I'm from Kailua on O'ahu. I'm a junior and this is my first year on Ka Mō'ī. I enjoy the typical introvert activities of watching anime and playing video games. I also like spending my time reading (specifically fantasy, adventure novels) and drawing. I'm hoping to spend my time at Ka Mō'ī writing interesting and engaging articles for people to read.